Batch File Script
[Windows] How to use a mass recoloring and overlay script
[Windows] How to use a mass recoloring and overlay script
In this article we will cover how to setup the batch file script on a windows machine, and run through some examples on useful applications. In my personal experience this has been great for doing mass recoloring for the mod Tinkers Construct and doing mass recoloring for ingots and dusts. You can download the script from here. This zip includes all the project files, examples and the script to run it.
To use this script there is a single dependency needed. To do our overlaying and hard work we must install imagemagick. This is a 3rd party tool that allows for command line image editing. To download it please see the links below.
When installing the program it is important that the option to “Add application directory to your system path” is checked. This will allow the script to run commands that can edit our image files. After install it is easy to check if the program has installed successfully. To check we need to run a command in our command line. Open the windows start menu and in the search box, search for cmd, and press enter. From here type in the command identify -version, this will check for an installed version of imagemagick. Below is the first line that is returned showing that we have successfully installed our dependency
Version: ImageMagick 6.9.0-3 Q16 x64 2014-12-30 http://www.imagemagick.org
One of the most important things that is key for any script on windows is to have no spaces in the directory structure. So we recommend that this project folder zip is expanded/unziped in the root of your computer’s drive. For example I have mine installed at C:/Batch_File_Script/. There is no space in my directory path so this is a valid location.
Understanding the directory layout is key to proper usage of the script. The two key folders are items and overlays. The items folder is where all the images that you wish to “overlay” on top of are placed. For example we have grey scaled arrow fletching, head, and shaft in the arrow “group”. Each overlay in the overlay folder will get applied to each image in the items folder. So on output there will be 3 different colored arrow fletchings, heads, and shafts. Each will have an alumite, ardite, and blue slime version.
\Batch_Convert.bat (the script downloaded from here)
\items             (all base greyscale images go here)
  \arrow
    \arrow_fletching.png
    \arrow_head.png
    \arrow_shaft.png
  \axe
  \battleaxe
  \etc..
\output            (all exported and overlaid images go here)
  \arrow
    \alumite_arrow_fletching.png
    \ardite_arrow_fletching.png
    \blueslime_arrow_fletching.png
    \etc..
  \axe
  \battleaxe
  \etc..
\overlays          (all overlay images go here)
  \alumite.png
  \ardite.png
  \blueslime.png
  \etc..
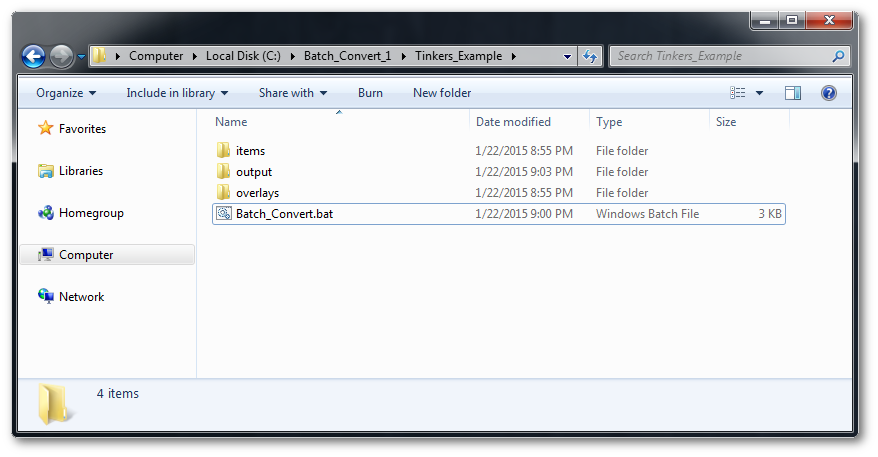
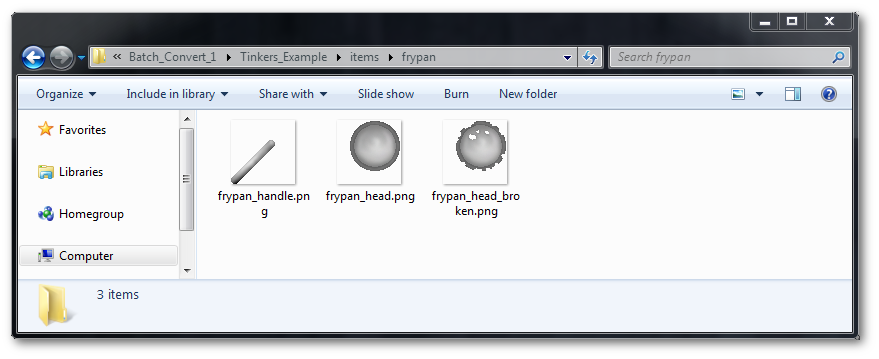
We are now going to cover some key examples that should help explain how the whole system works. In this first example we are going to show off how we use it for Soartex Tinkers Construct. In our items folder we have a folder for each item, and inside each one of those folders we have the parts that make up such item. For this example lets follow along with the frying pan parts. So in our /Tinkers_Example/items/frypan/ we have three items that we want to get colored.
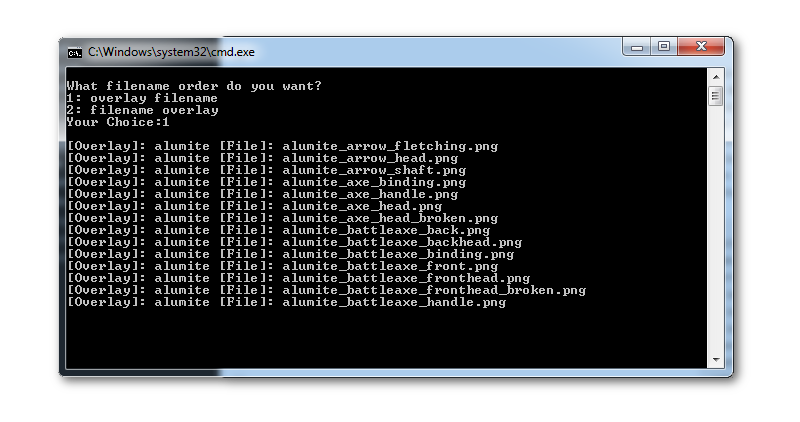
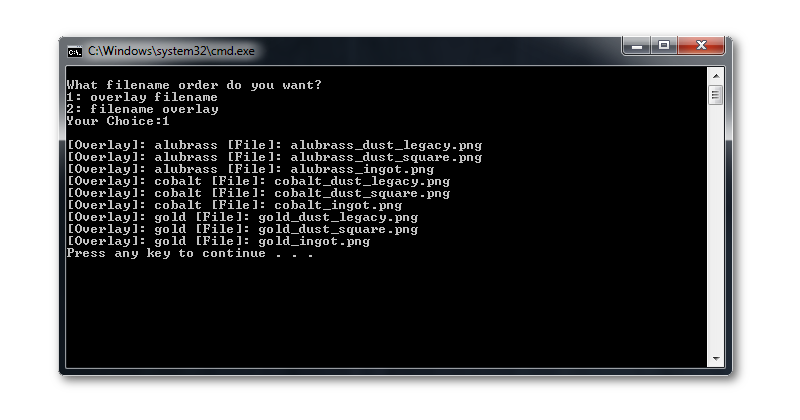
A simple double click starts the script. The way the filenaming works is it takes the filename and the overlay name and combines them into a new order. This can be seen being explained when you run the script. You can pick what order you want to use. This is dependent per mod, and is just an easy way to not have to spend a lot of time renaming the images later.
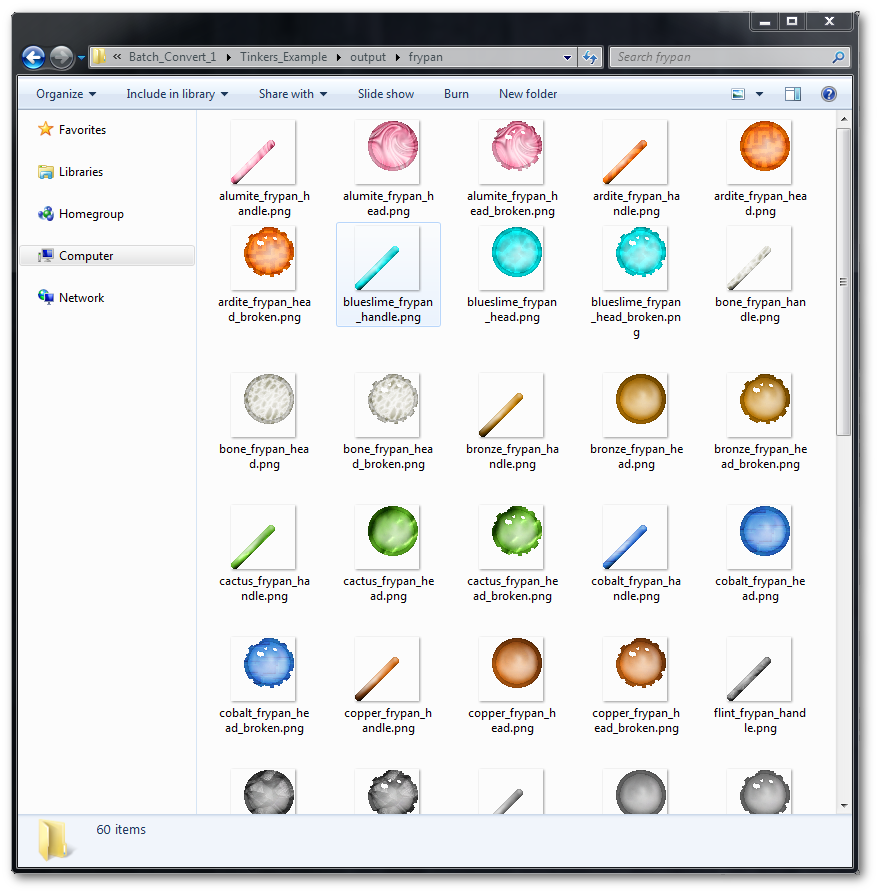
Finally we have the created textures. We have lets the script run all the way through completely. If we take a look in the /Tinkers_Example/output/frypan/ we can see what we have created. In this example we now have 3 copies of the texture for each overlay. Each file has a unique matching name.
Another application for this batch script is doing mass recoloring of ingots and dusts. For example if we wanted to get a mass recoloring of multiple types of ingots, for multiple mods, we can easily add it. In this case we are going to follow along with the dust files. In our /Ingot_Dust_Example/items/dust/ folder we have two textures that we want to create textures for. In our overlay folder we have three overlays that are just colors that we want to overlay on top of the grayscales. Below we have the full console output.
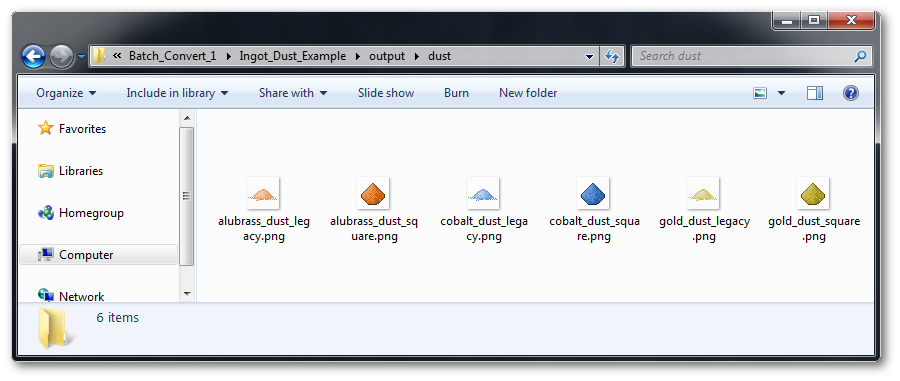
The routine is similar to the tinkers example as we now have all the files outputted into the output folder. For our dusts we can look in the /Ingot_Dust_Example/output/dust/ folder. In this folder we now have a recolored version of each dust.
As seen by the examples above the application of this tool can save vast amounts of time. From the simple task of doing wool colored recolors to doing complicated overlay patterns for tinkers, the possibilities are endless. Feel free to send us comments, or ideas on how to improve this article or script at support@soartex.net. Please remember that all textures and scripts are licensed under “All Rights Reserved”, meaning that the only place that can distributed it is from this website. Thank you!